
Bringing Images to Life: The Art of 3D Printed Lithophanes.
3D printing technology has revolutionised the way we create and design objects. It has opened up new avenues for arts and crafts, enabling designers to bring their imagination to life in a tangible form. One such application of 3D printing is the creation of lithophanes, an age-old technique that has been given a modern twist with the help of technology.
What is a Lithophane?
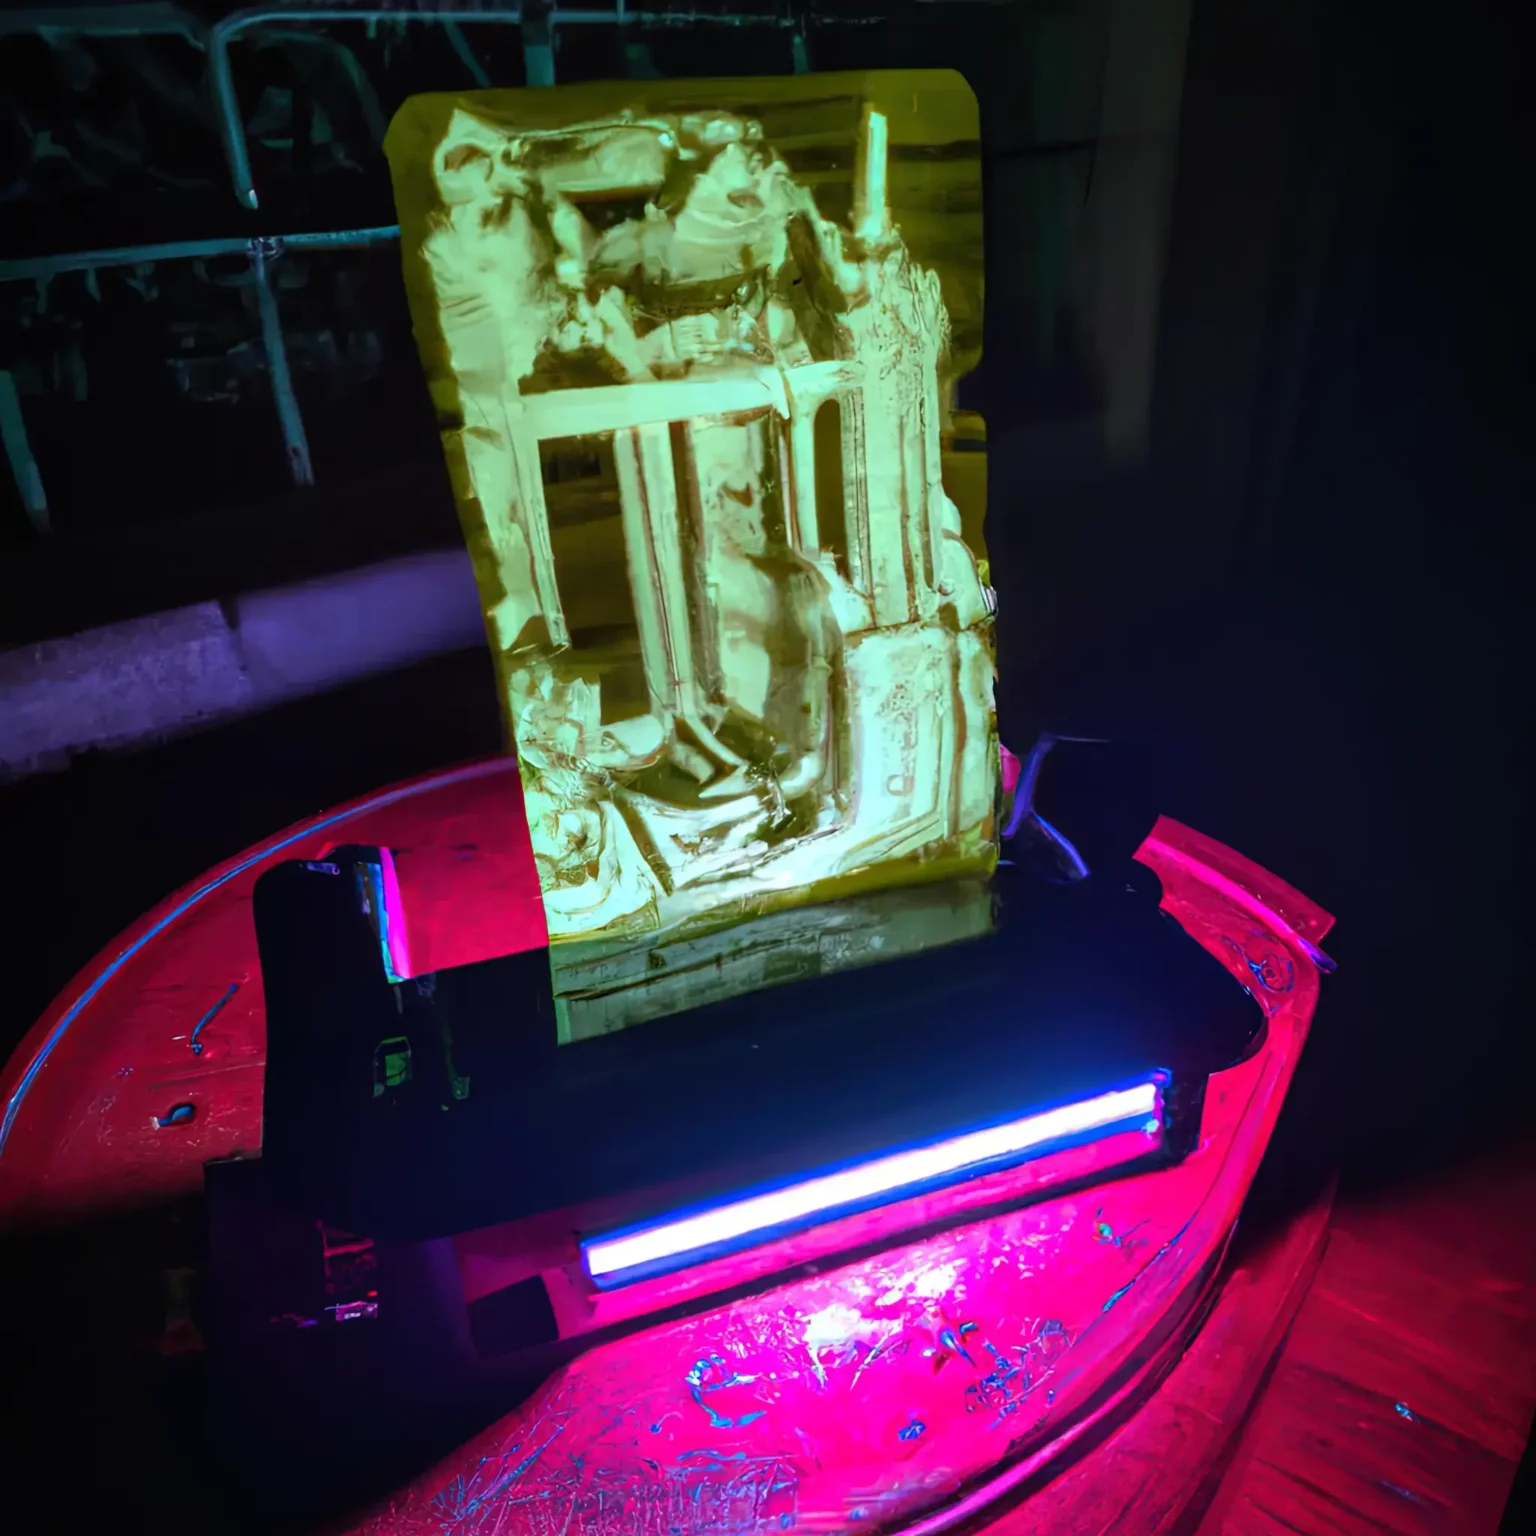
A lithophane is a three-dimensional image that can only be seen fully when backlit. The image appears as a result of varying depths and thicknesses in the material, which correspond to the brightness of the image. The thinner and deeper parts of the lithophane allow more light to pass through, appearing brighter in the final image. The thicker and shallower parts allow less light to pass through, appearing darker.
The Origin of Lithophanes
The technique of creating lithophanes dates back to the early 19th century when they were used in the production of porcelain. The process involved creating an image on a flat surface and then etching it into the material to varying depths, resulting in a three-dimensional image. With the advent of 3D printing technology, this process has been simplified and made more accessible, enabling anyone with a 3D printer and some know-how to create stunning images.
The Creation of Lithophanes in 3D Printing:-
The creation of a lithophane in 3D printing involves three main steps: preparing the image file, converting to a 3D model and finally the 3D printing process.
Preparing the Image:
The first step in creating a lithophane is preparing the image. This can be done using a variety of software packages like Photoshop, GIMP, paint.net and many more. There are many views on how to process the image and its most certainly an artform in and of itself. Once you are finished editing you will usually end up with a greyscale image which is used to create the 3D model.
Converting to a 3D model:
As with image editing, there are many software packages and processes that can get your source image exported to a 3D file. Most 3D printing slicers have an option to do this, but the results can be lacking so a dedicated piece of software or web service is recommended. Luban, PhotoToMesh(a bit outdated these days), Blender and the web service ItsLitho are some of the best options to do this.
3D Printing the Lithophane:
Once the image prep and conversion is complete, it is time to 3D print the lithophane. The 3D printer creates a layer-by-layer replication of the image, with each layer building on the previous one. The thickness of each layer corresponds to the brightness of the image, with the thinner parts allowing more light to pass through and the thicker parts allowing less light to pass through.
One of the best things about 3D printed lithophanes is that they can be created using a variety of materials and printing methods. Some of the most common materials used include ABS, PLA, PETG, and even resin. The printing process can be done using a variety of 3D printers, including FDM, SLA, and DLP, each of which has its own strengths and limitations. You can see what settings we use by viewing the FDM or Resin lithophane print guides on the site.
The Final Result
The final result is a stunning three-dimensional image that can only be seen fully when backlit. Lithophanes make unique and eye-catching decorative items, and are often used as lanterns, night lights, ornaments, and even as lampshades. They can also be used to create unique and personal gifts, such as photo frames or personalized mugs.
In conclusion, lithophanes are a unique and creative way to bring images to life in 3D form. With the help of technology, the creation process has been made more accessible, enabling anyone with a 3D printer to create stunning pieces of art that can only be fully appreciated when backlit. Whether used for decorative purposes or as personal gifts, lithophanes are a beautiful and versatile way to showcase your creativity.