
Information:
For FDM lithophane settings please see this page.
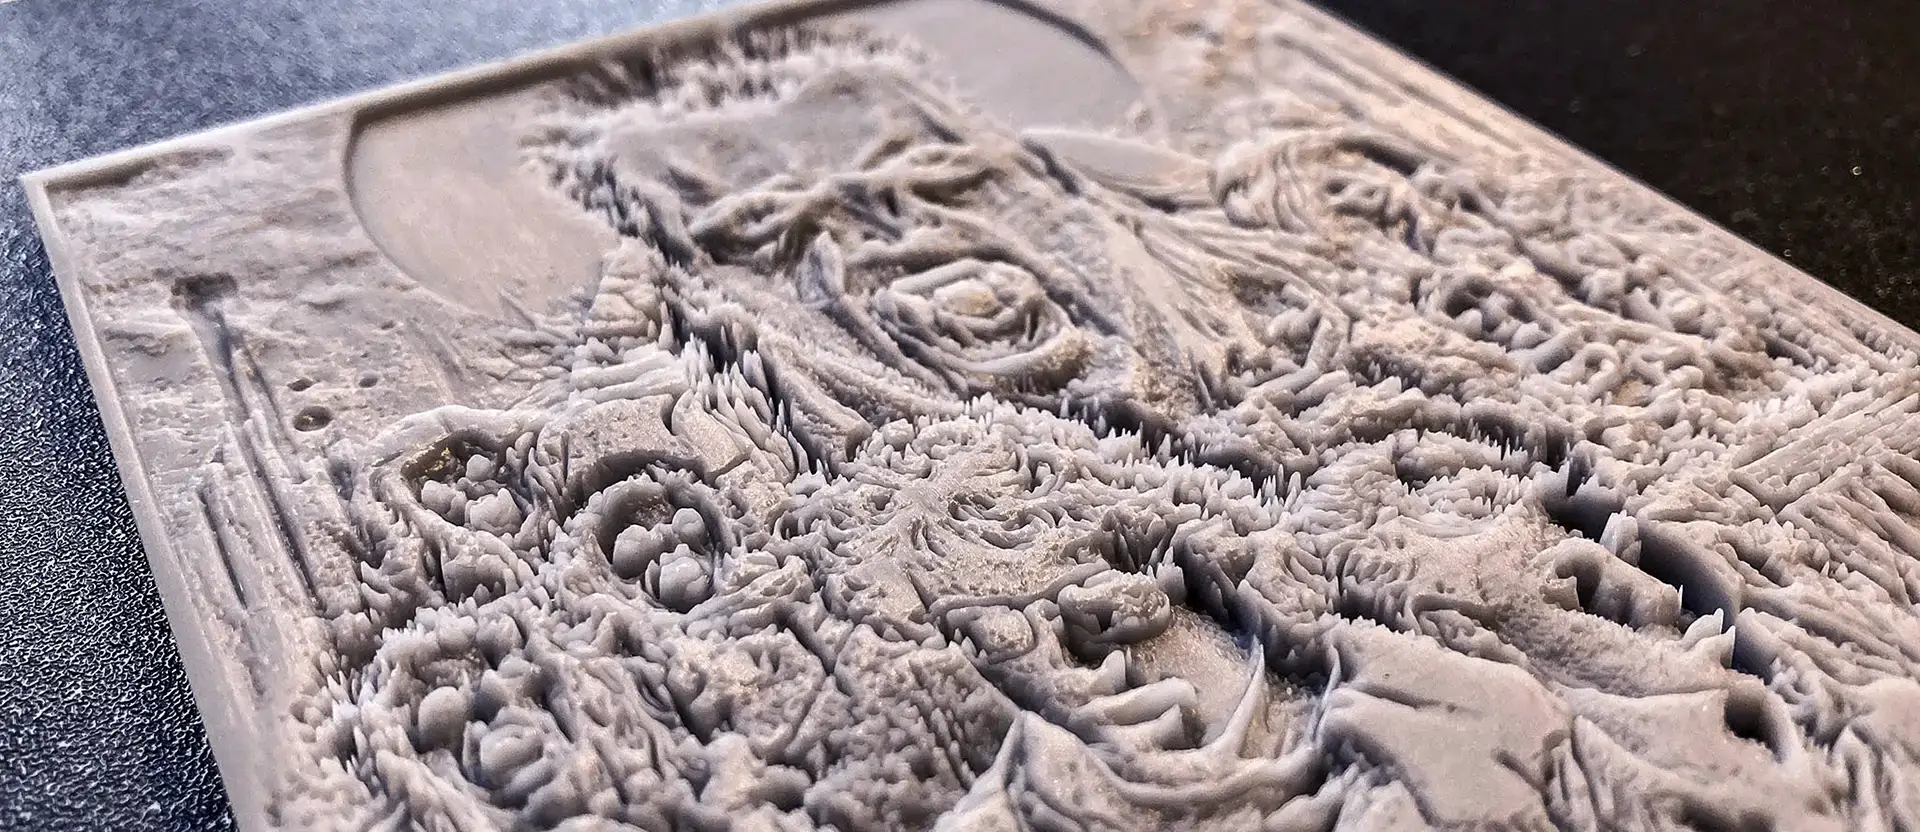
Resin lithophanes can look fantastically detailed due to the nature of resin printing. But we have to create them slightly different to take advantage of all it has to offer.
You generally want a resin lithophane to be thicker than an FDM one. This is because of how light passes through the resin once cured. With FDM printers 3.2mm is usually the maximum thickness you want(with a minimum set to 0.8mm) to have good contrast while not requiring an extremely powerful light source behind it. With resin lithophanes it depends on the resin used, but 4.5-5mm thickness(and a minimum set to 1.2mm) is essential for a great looking lithophane with good contrast and high detail.
Something that also helps with resin lithophanes is a good sized frame around them. A 7-8mm thick frame(in depth) will really help with the printing process as you can print directly on the print plate without any supports. You can do this without a frame but you may need to use some supports to make sure the lithophane doesn’t detach from the print plate. With a good frame used this improves the final print quality as there are no supports, so no support marks on the finished print.
We have our own brand of lithophane specific resin. But as a lot of regular visitors know this is nearly always out of stock due to issues getting it manufactured and delivered from China(we’re a very small customer compared to others using the factory). All is not lost though as you can combine commonly available resins to get a great lithophane mix. It wont have the extra additives we use, but its very close to the final results of our Gadunky LithoResin.
The Good Litho Mix (2023 version):
50% Elegoo Grey ABS like resin.
25% Elegoo White ABS like resin.
20% Elegoo Beige resin (previously called Skin).
5% Anycubic Black resin.
Recommended Resins*:
Amazon Germany:
Anycubic Black resin
Elegoo Grey ABS Like
Elegoo White ABS like
Elegoo Beige
Slicer Settings

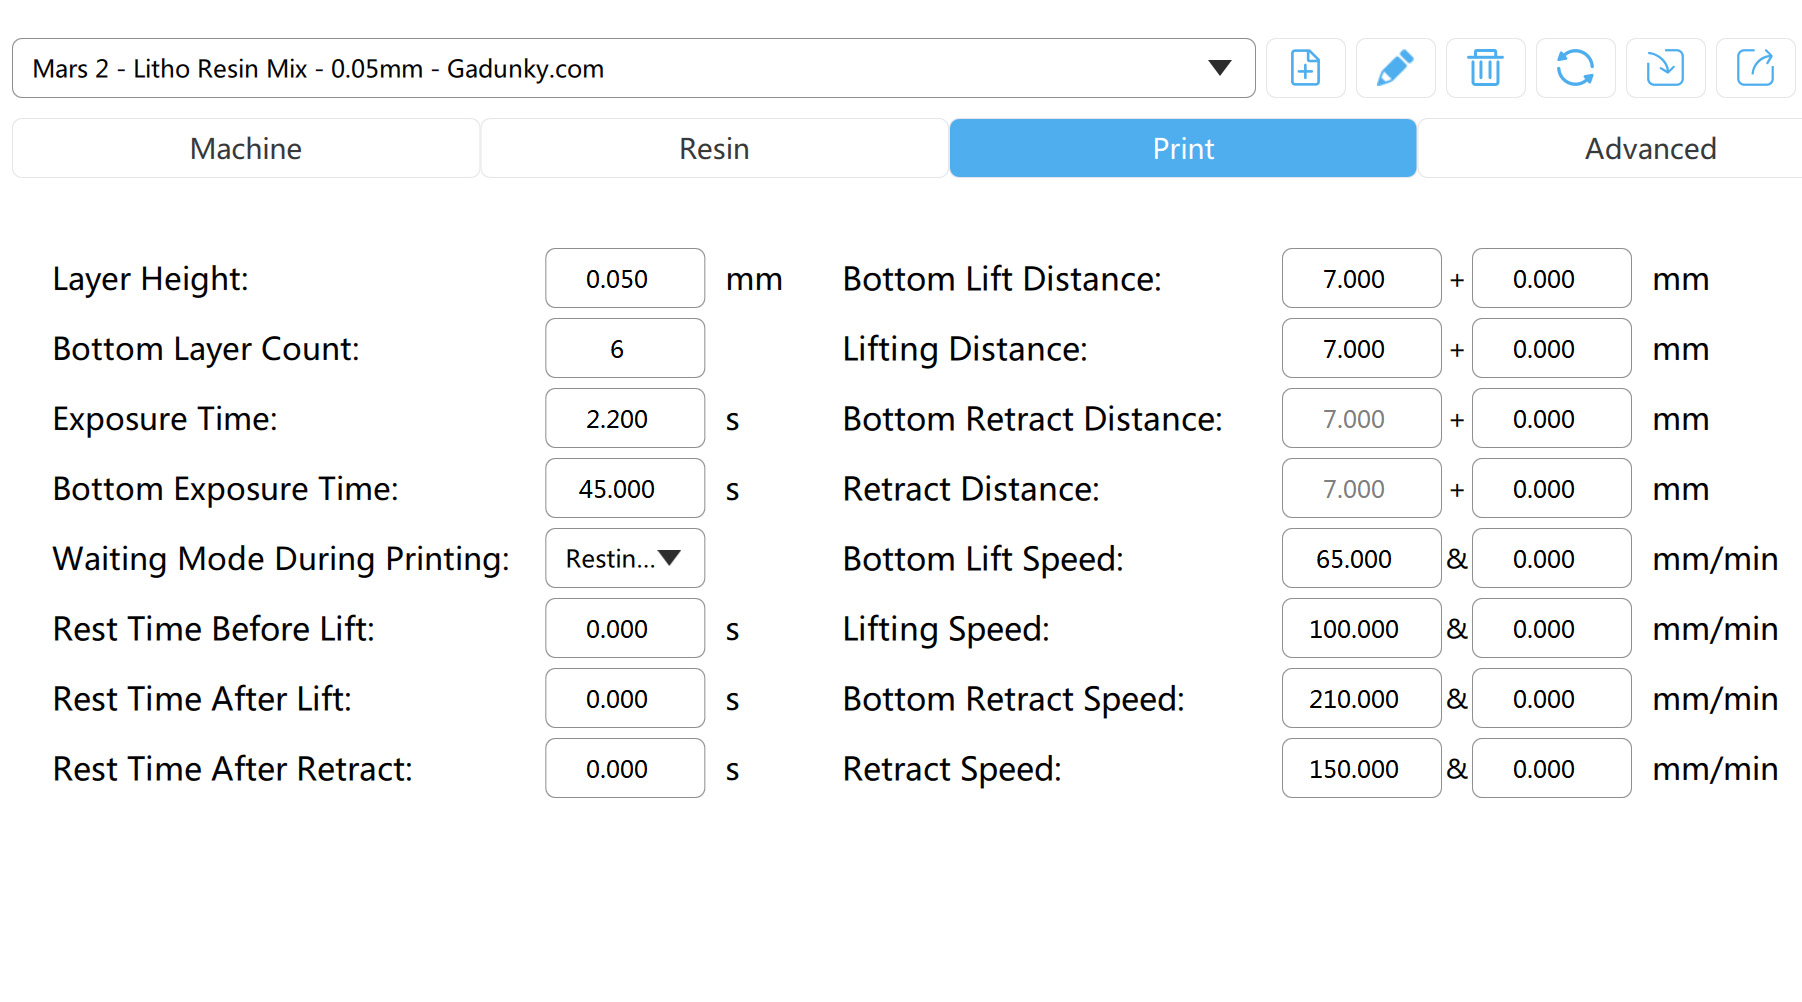
Resin Lithophane Settings.
You can tweak all of the settings to suit your needs. But the above images and below text is what we use and have very good results.
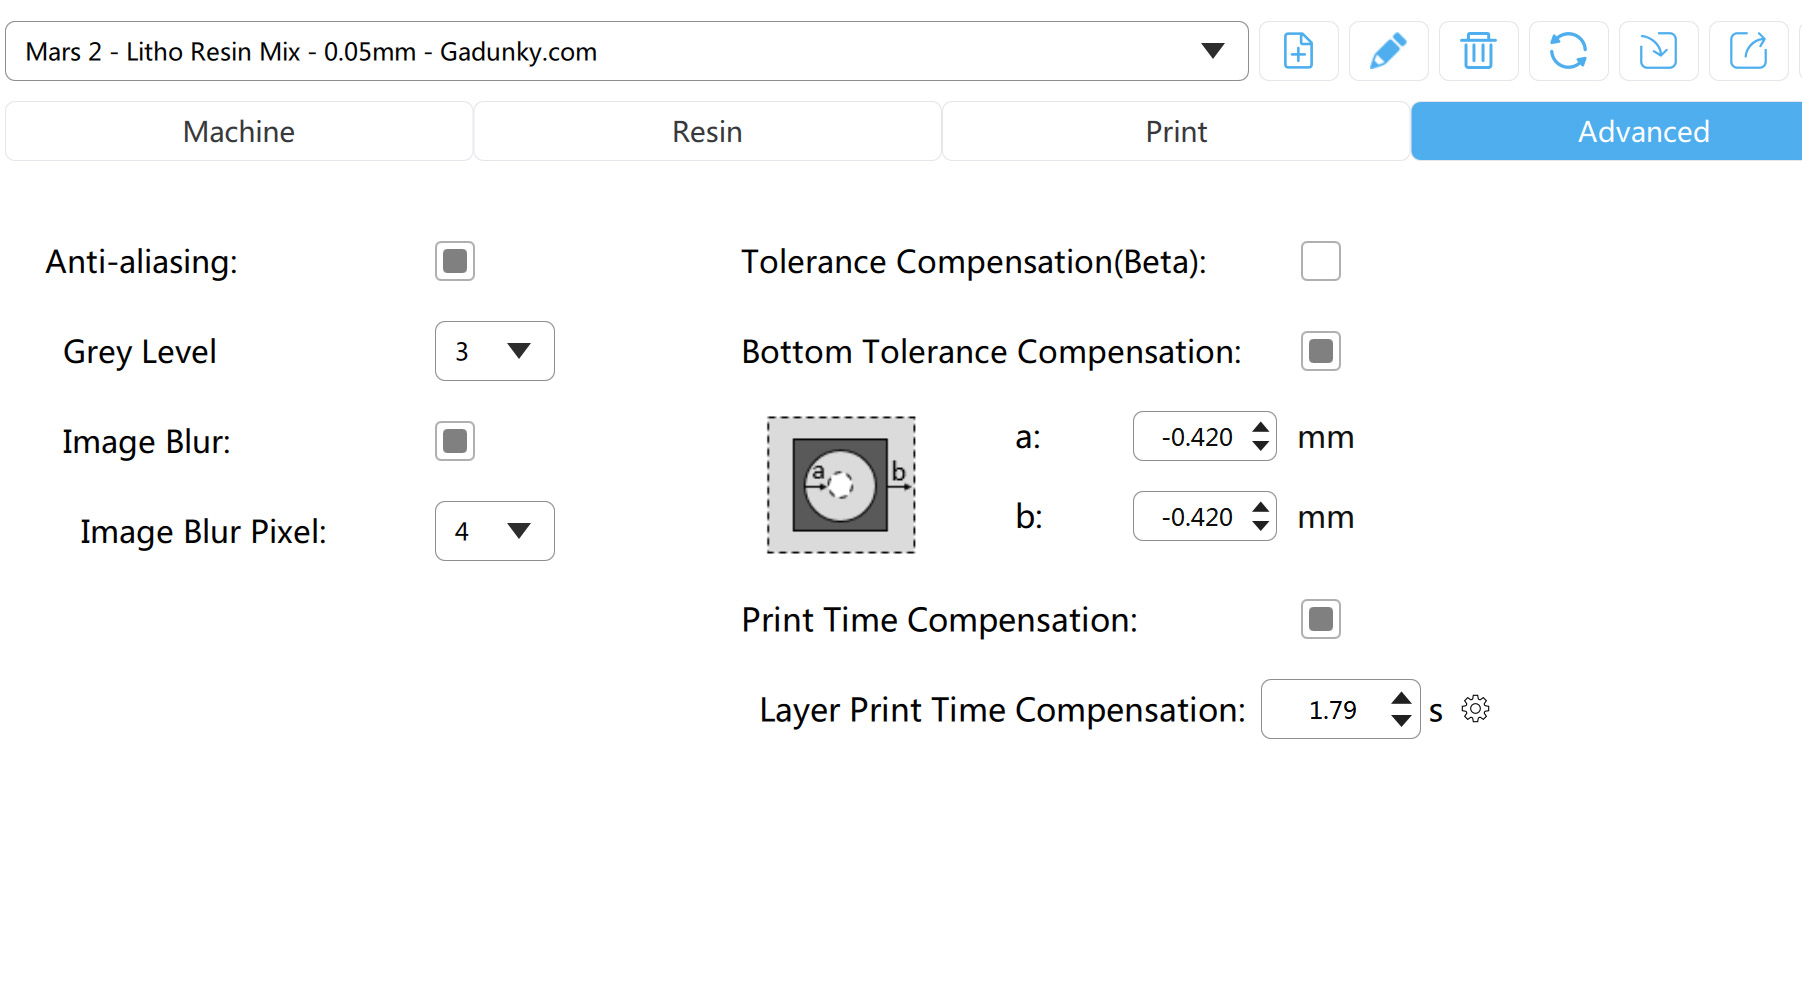
You might notice our bottom exposure setting is quite high. This is to get a good solid hold of the build plate. In the advanced settings we compensate for the bottom “elephant foot” by adding a tolerance compensation of -0.420. This works well for most people, but if you have issues turn it off or try something closer to -0.120.
We also have a “Layer Print Time Compensation” setting of 1.79s. You can disable this if you like. But with our Mars 2/3 printers it helps get an accurate time estimate within a couple of minutes of the actual real work print time.
The settings above are all for the Elegoo Mars 2 printer using Chitubox v1.9.4 as the slicer, but the same basic settings can be added in to other slicers(Lychee, PrusaSlicer etc). They can also be used on any similar machine or slightly adapted for others.
Bonus tip:
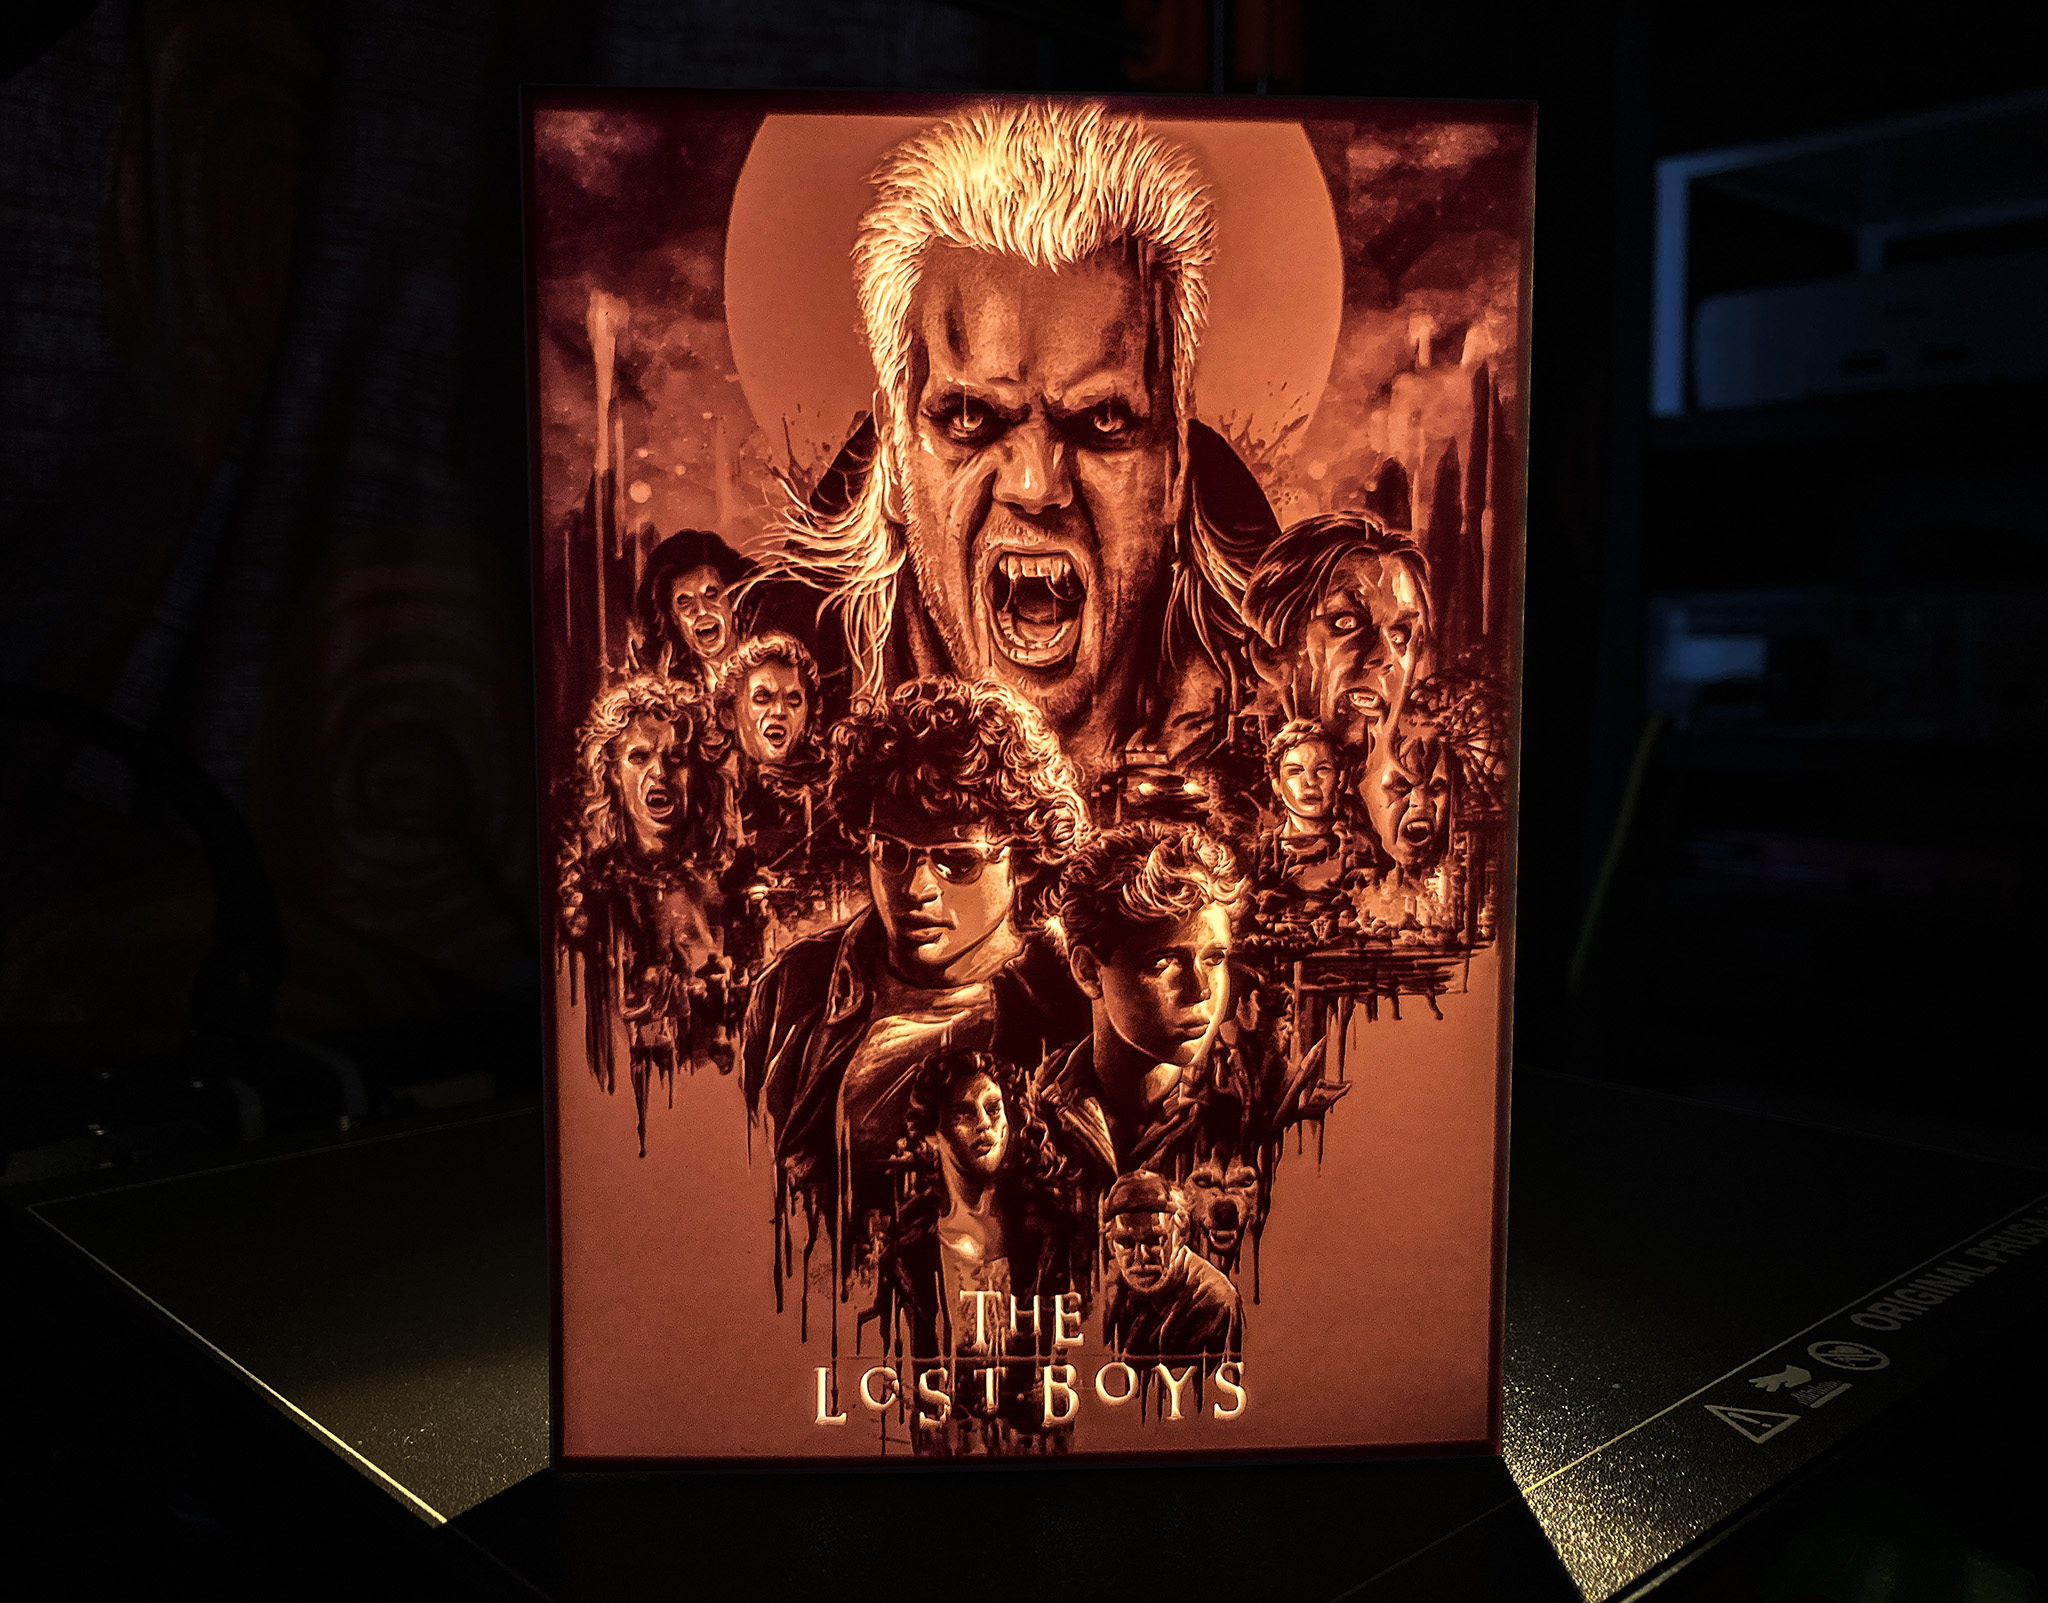
If you want a warmer look to your lithophane you can over cure it slightly. When backlit it will look more amber than a quick cure would give you.
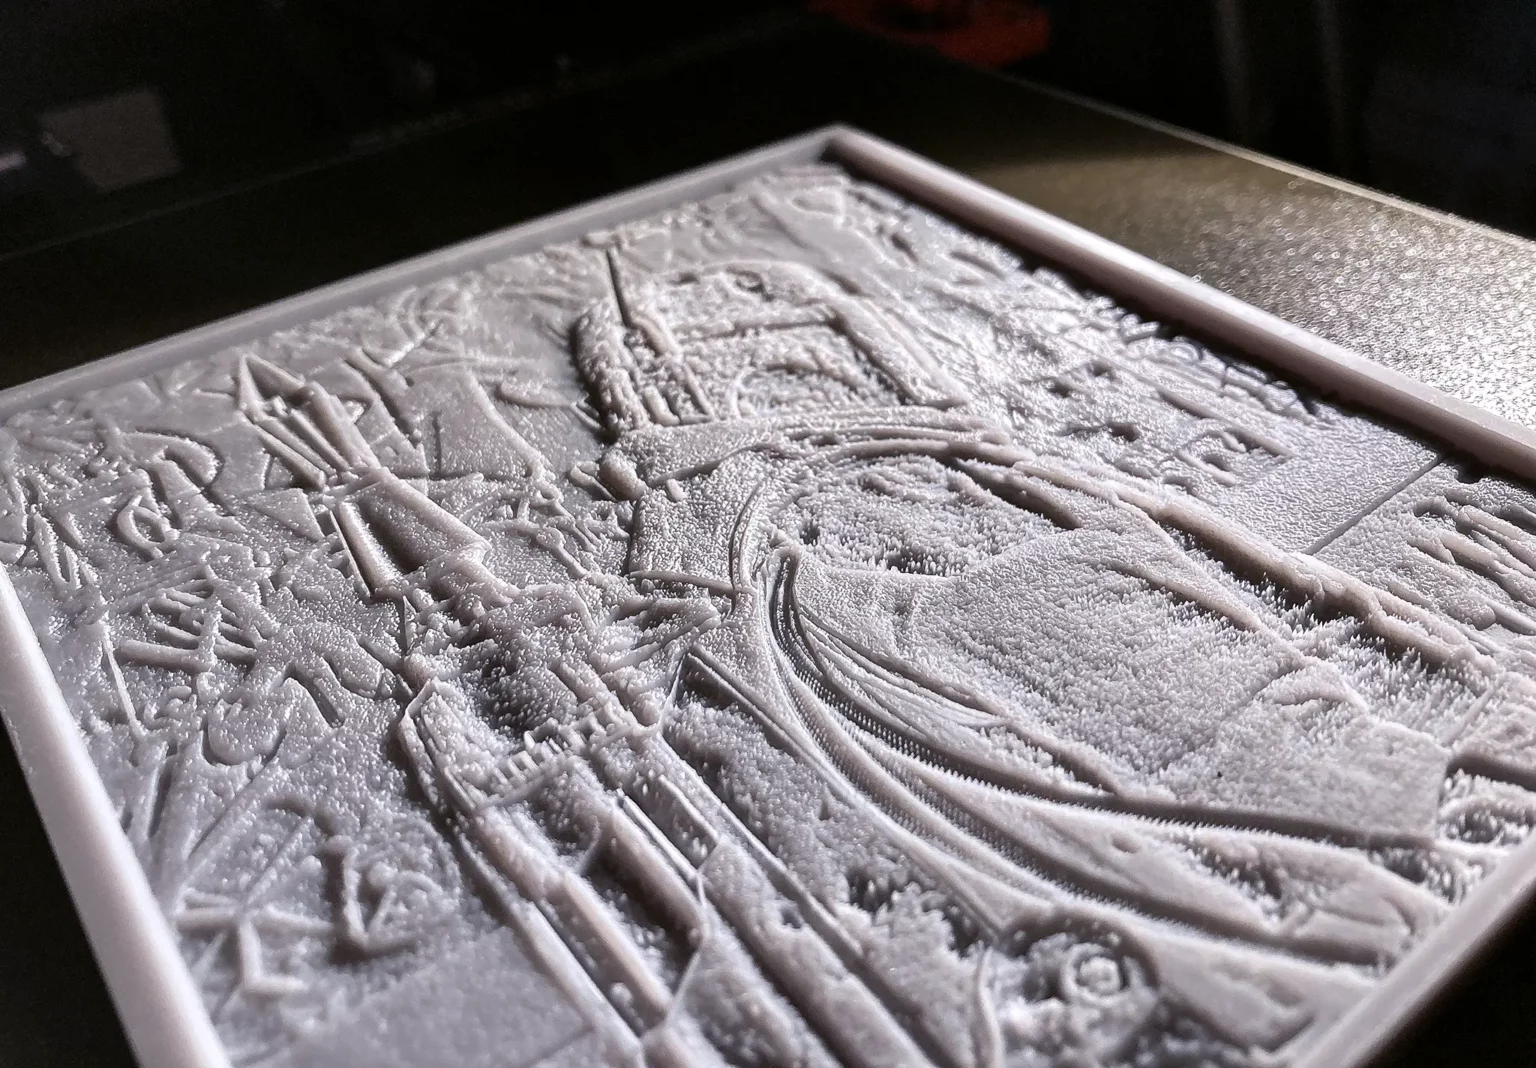
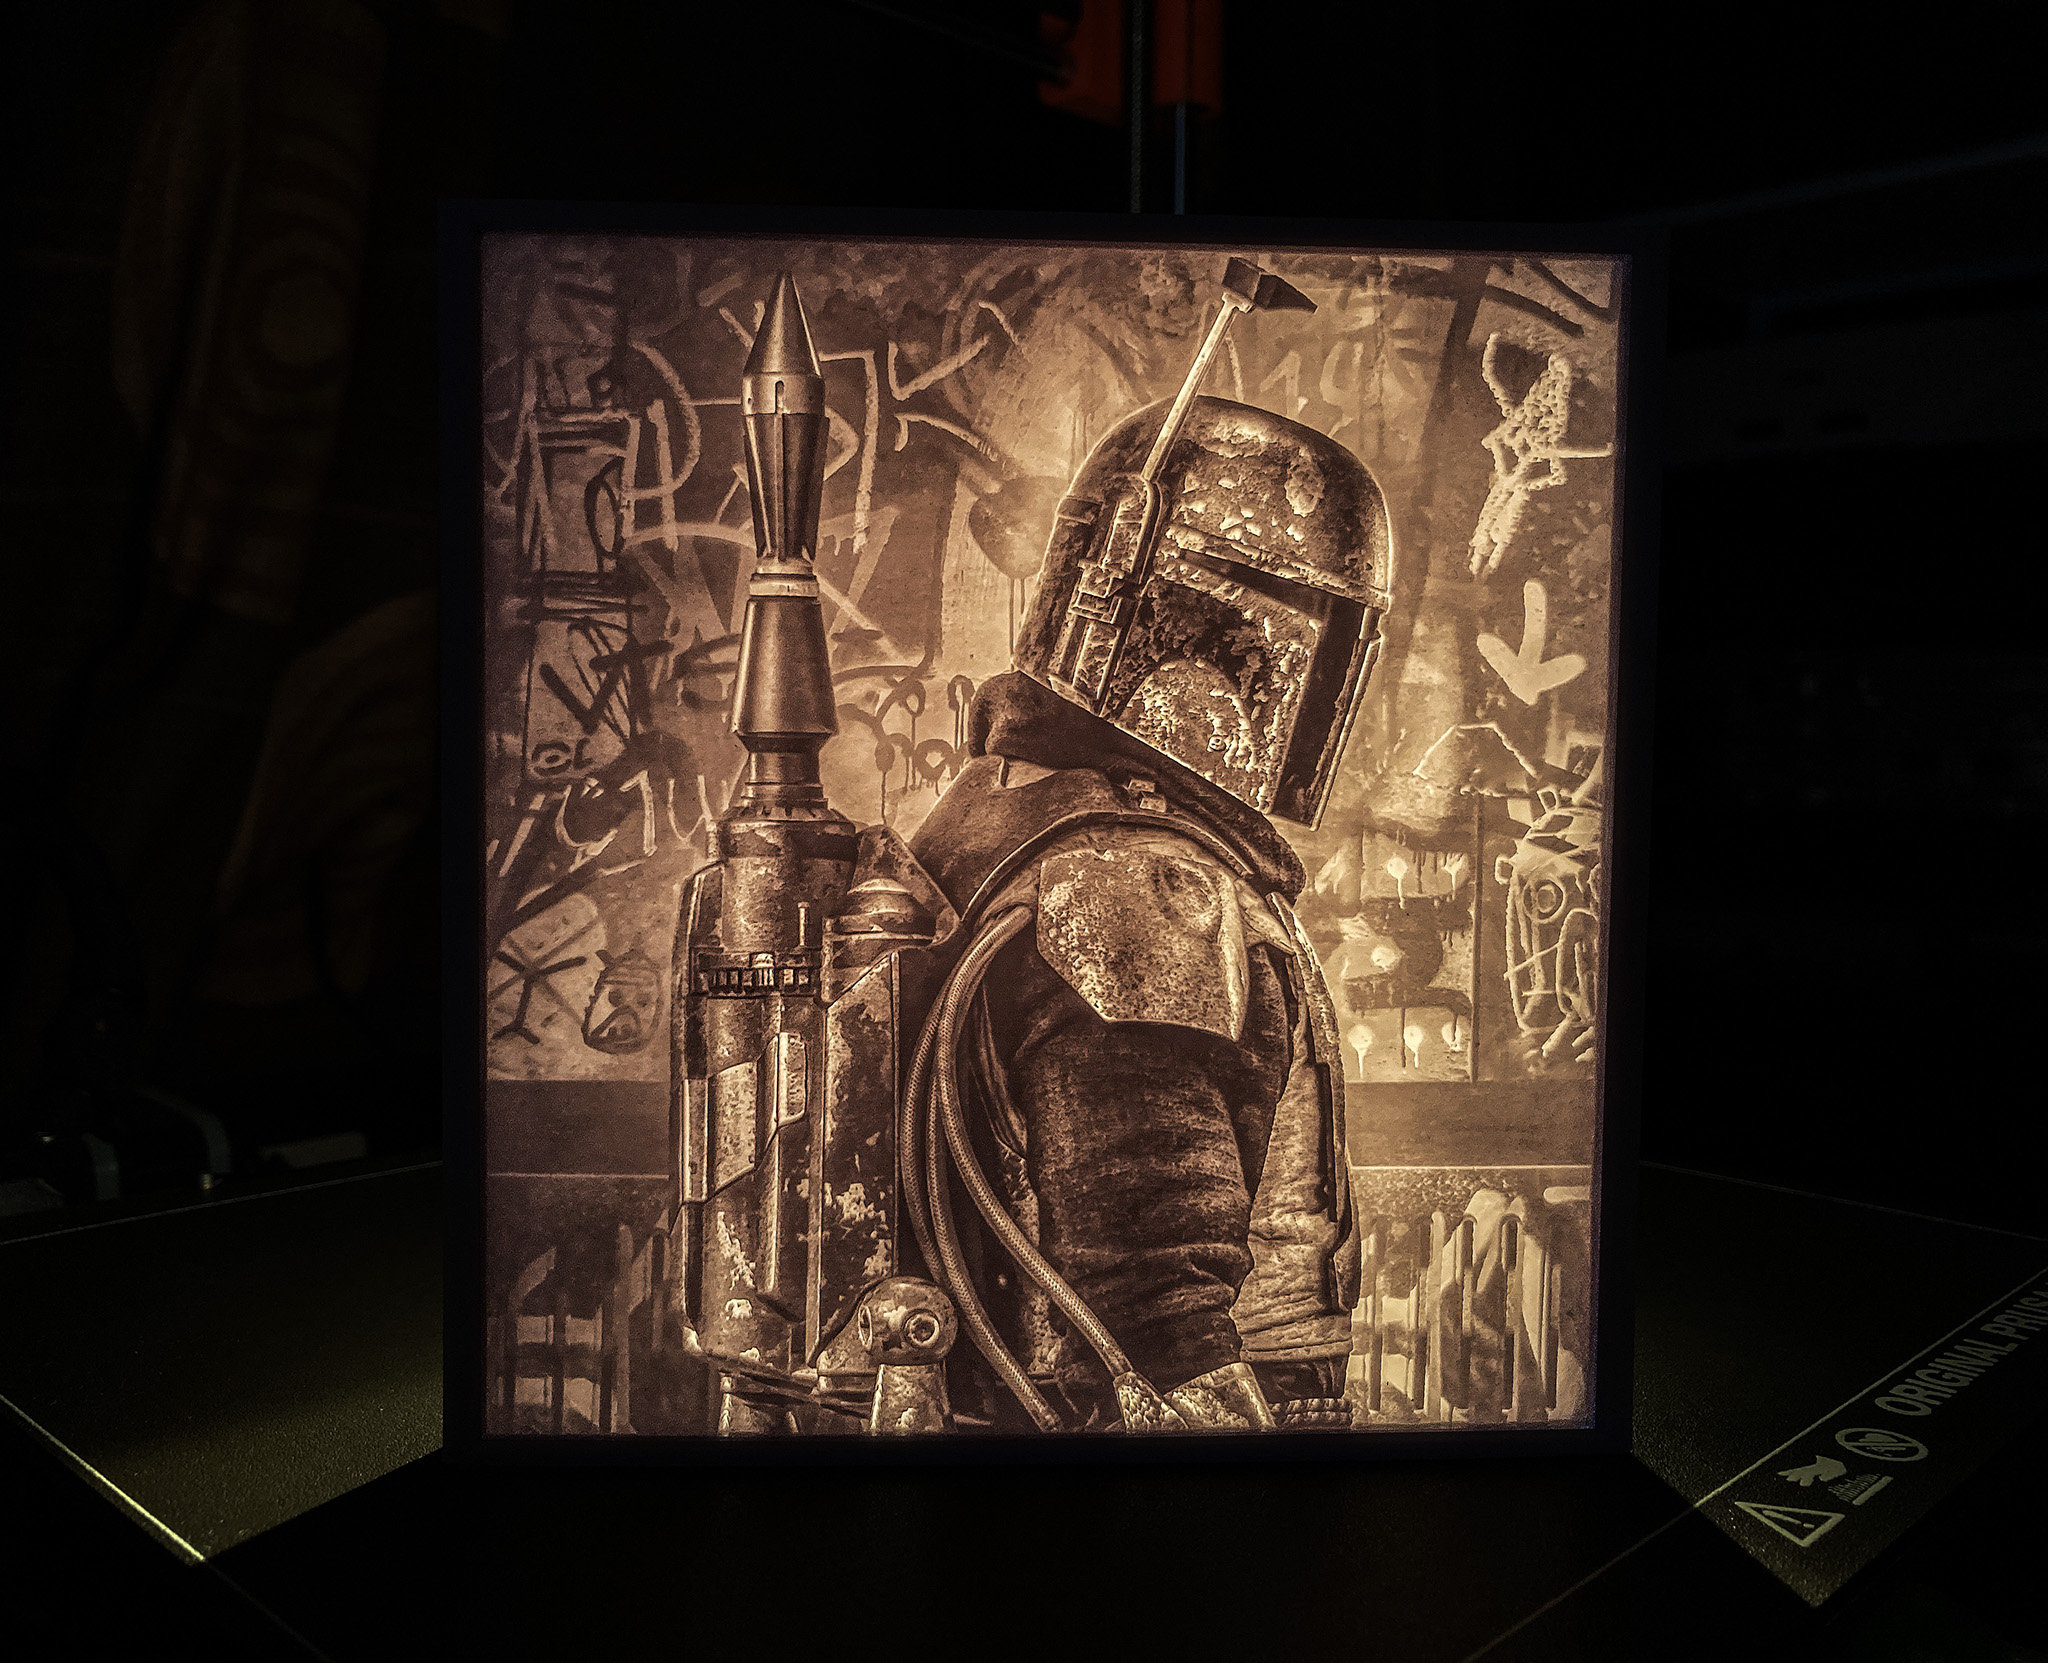
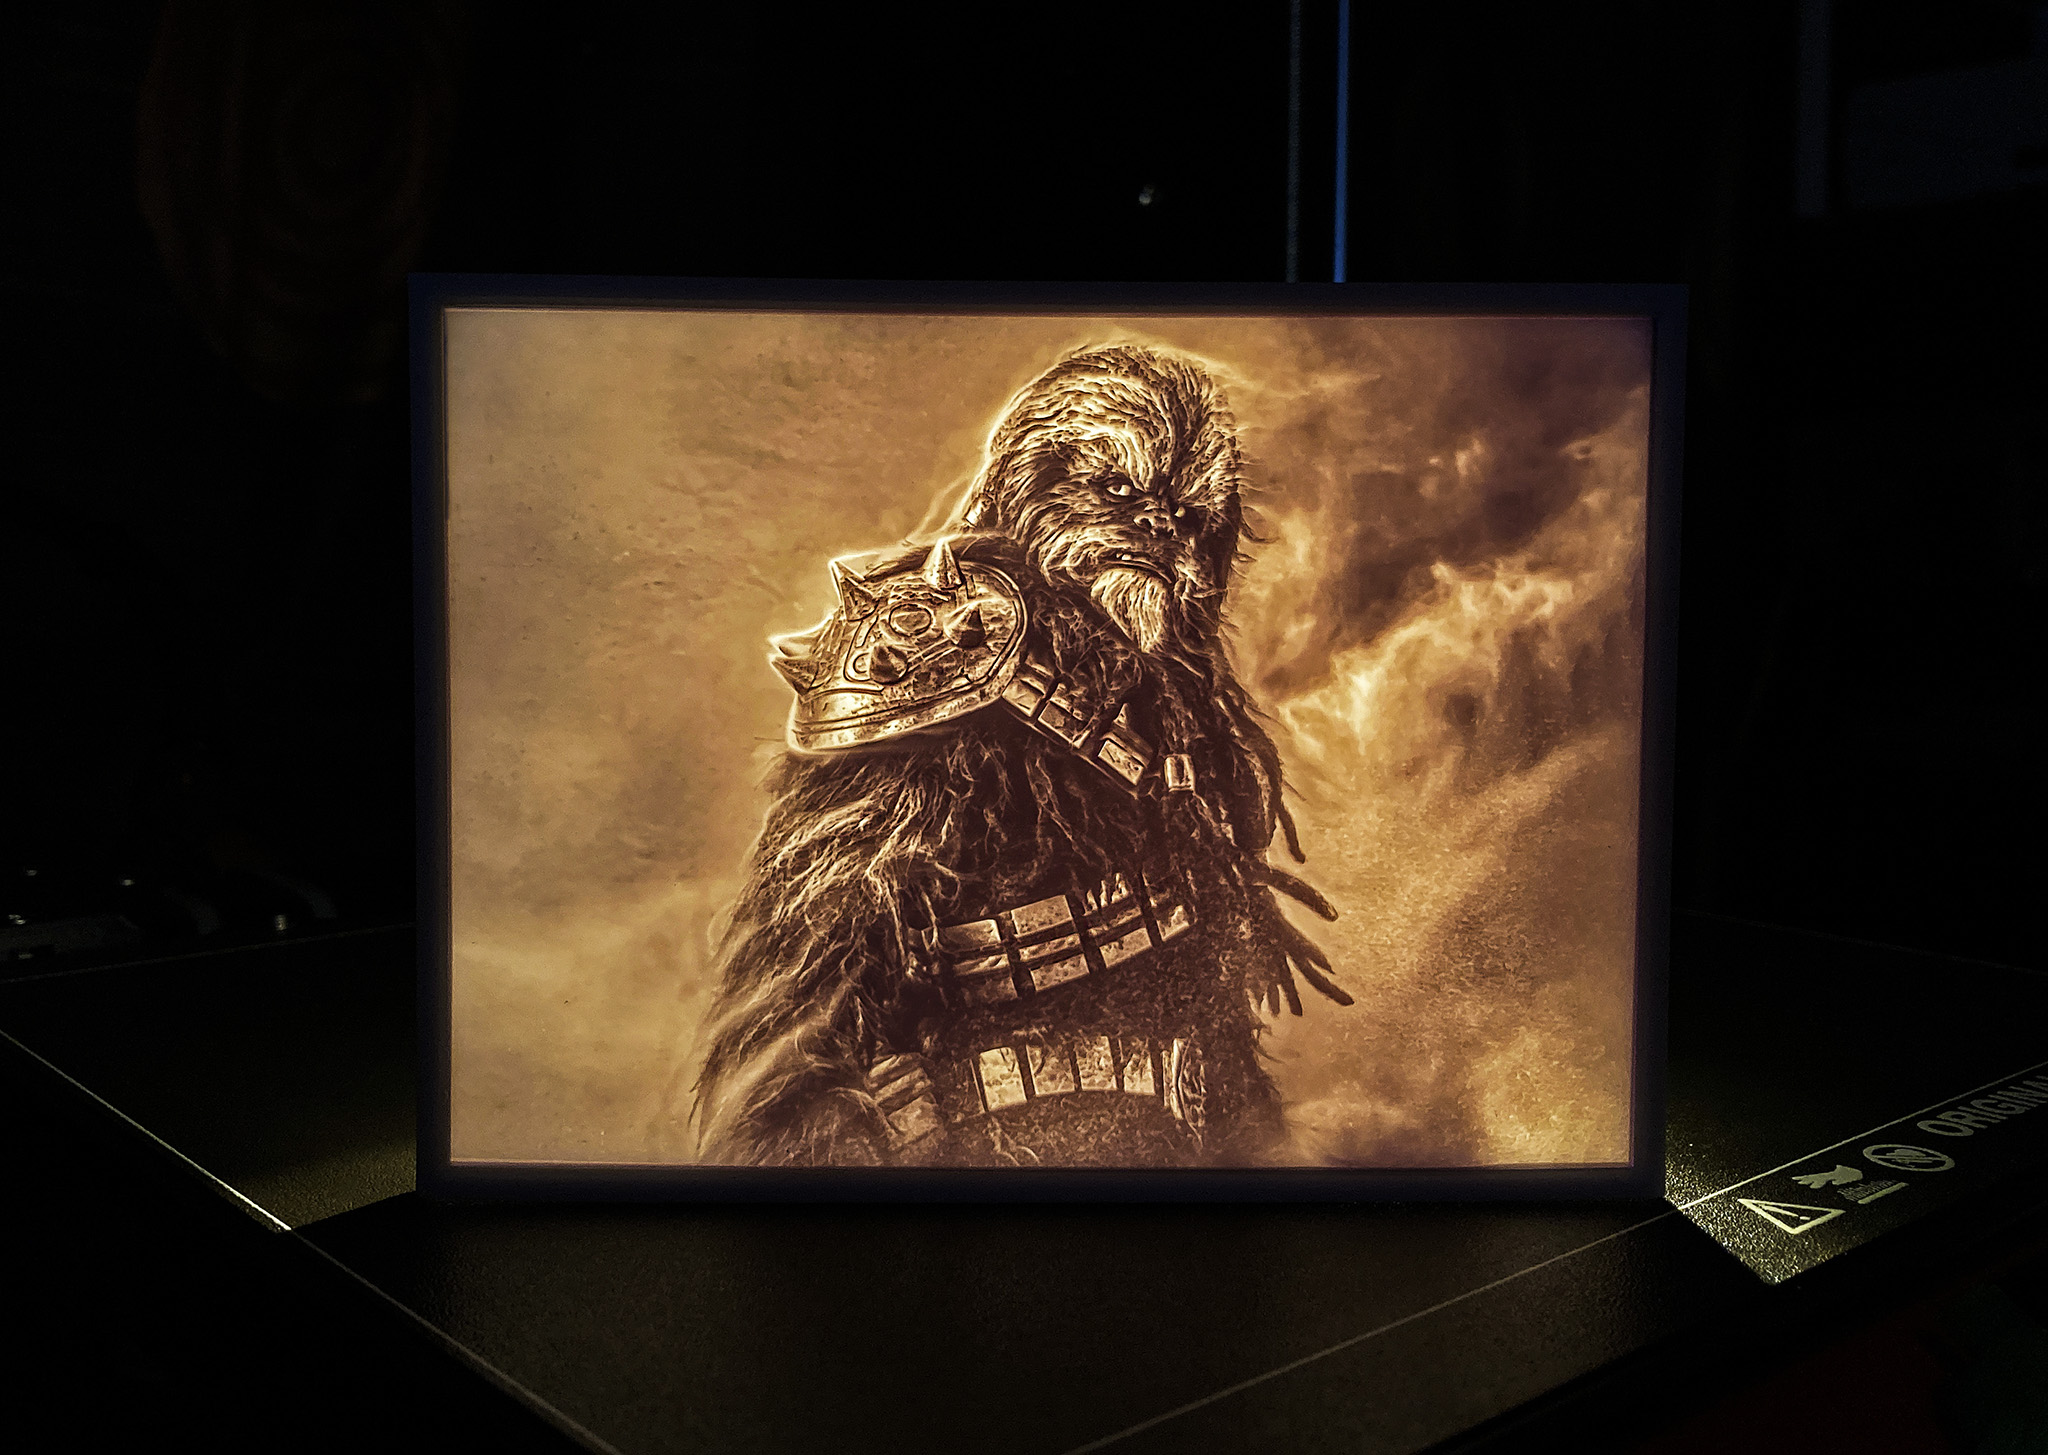
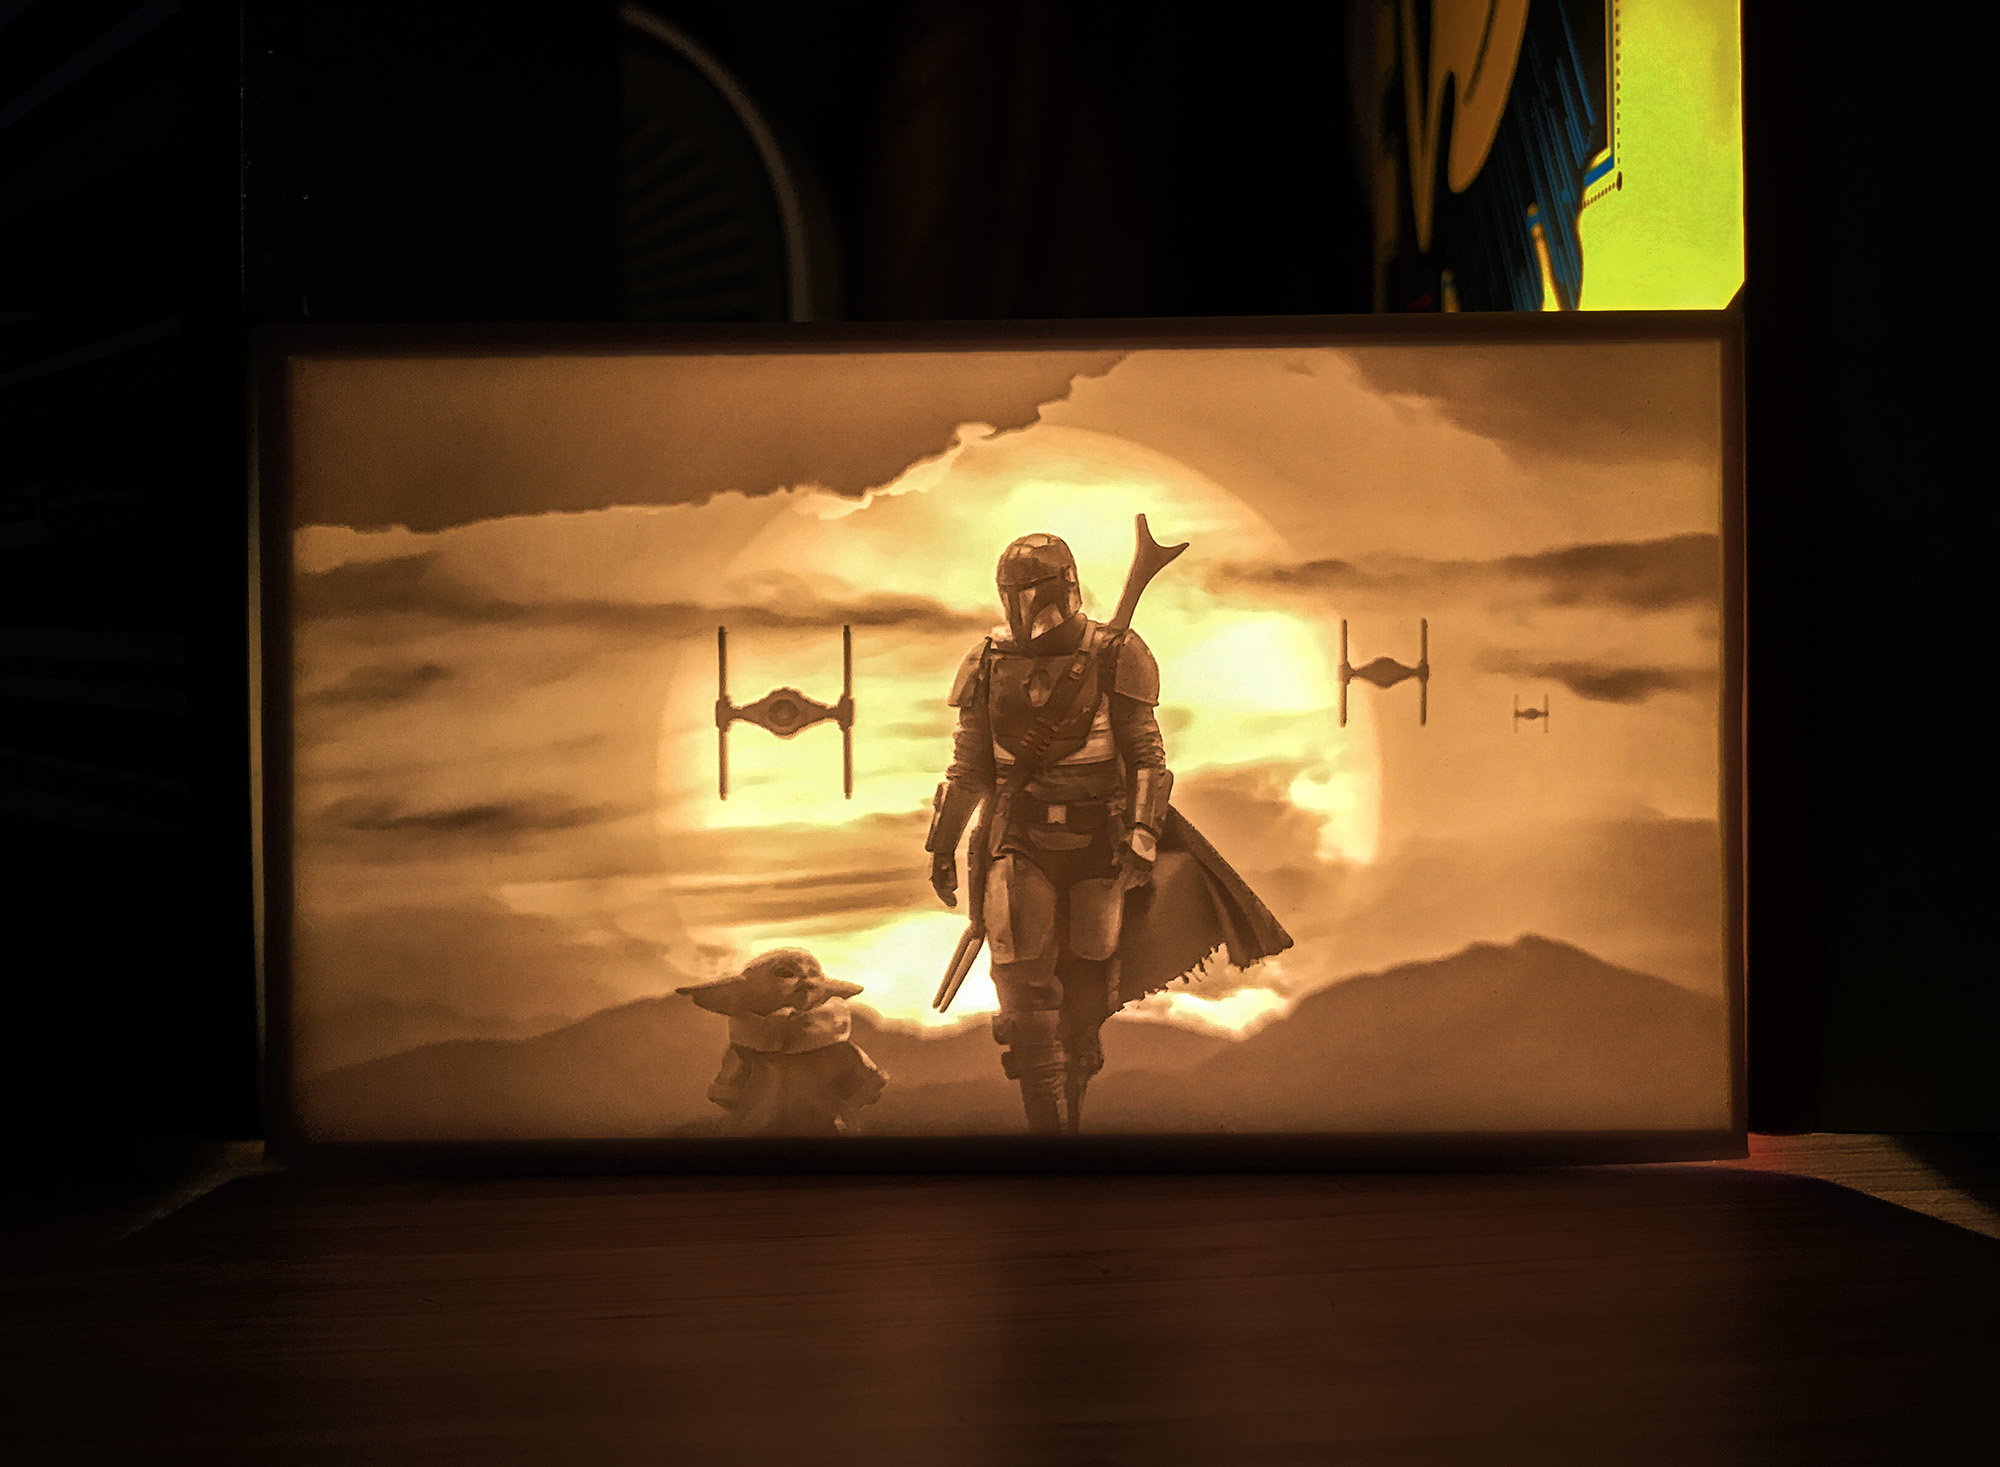
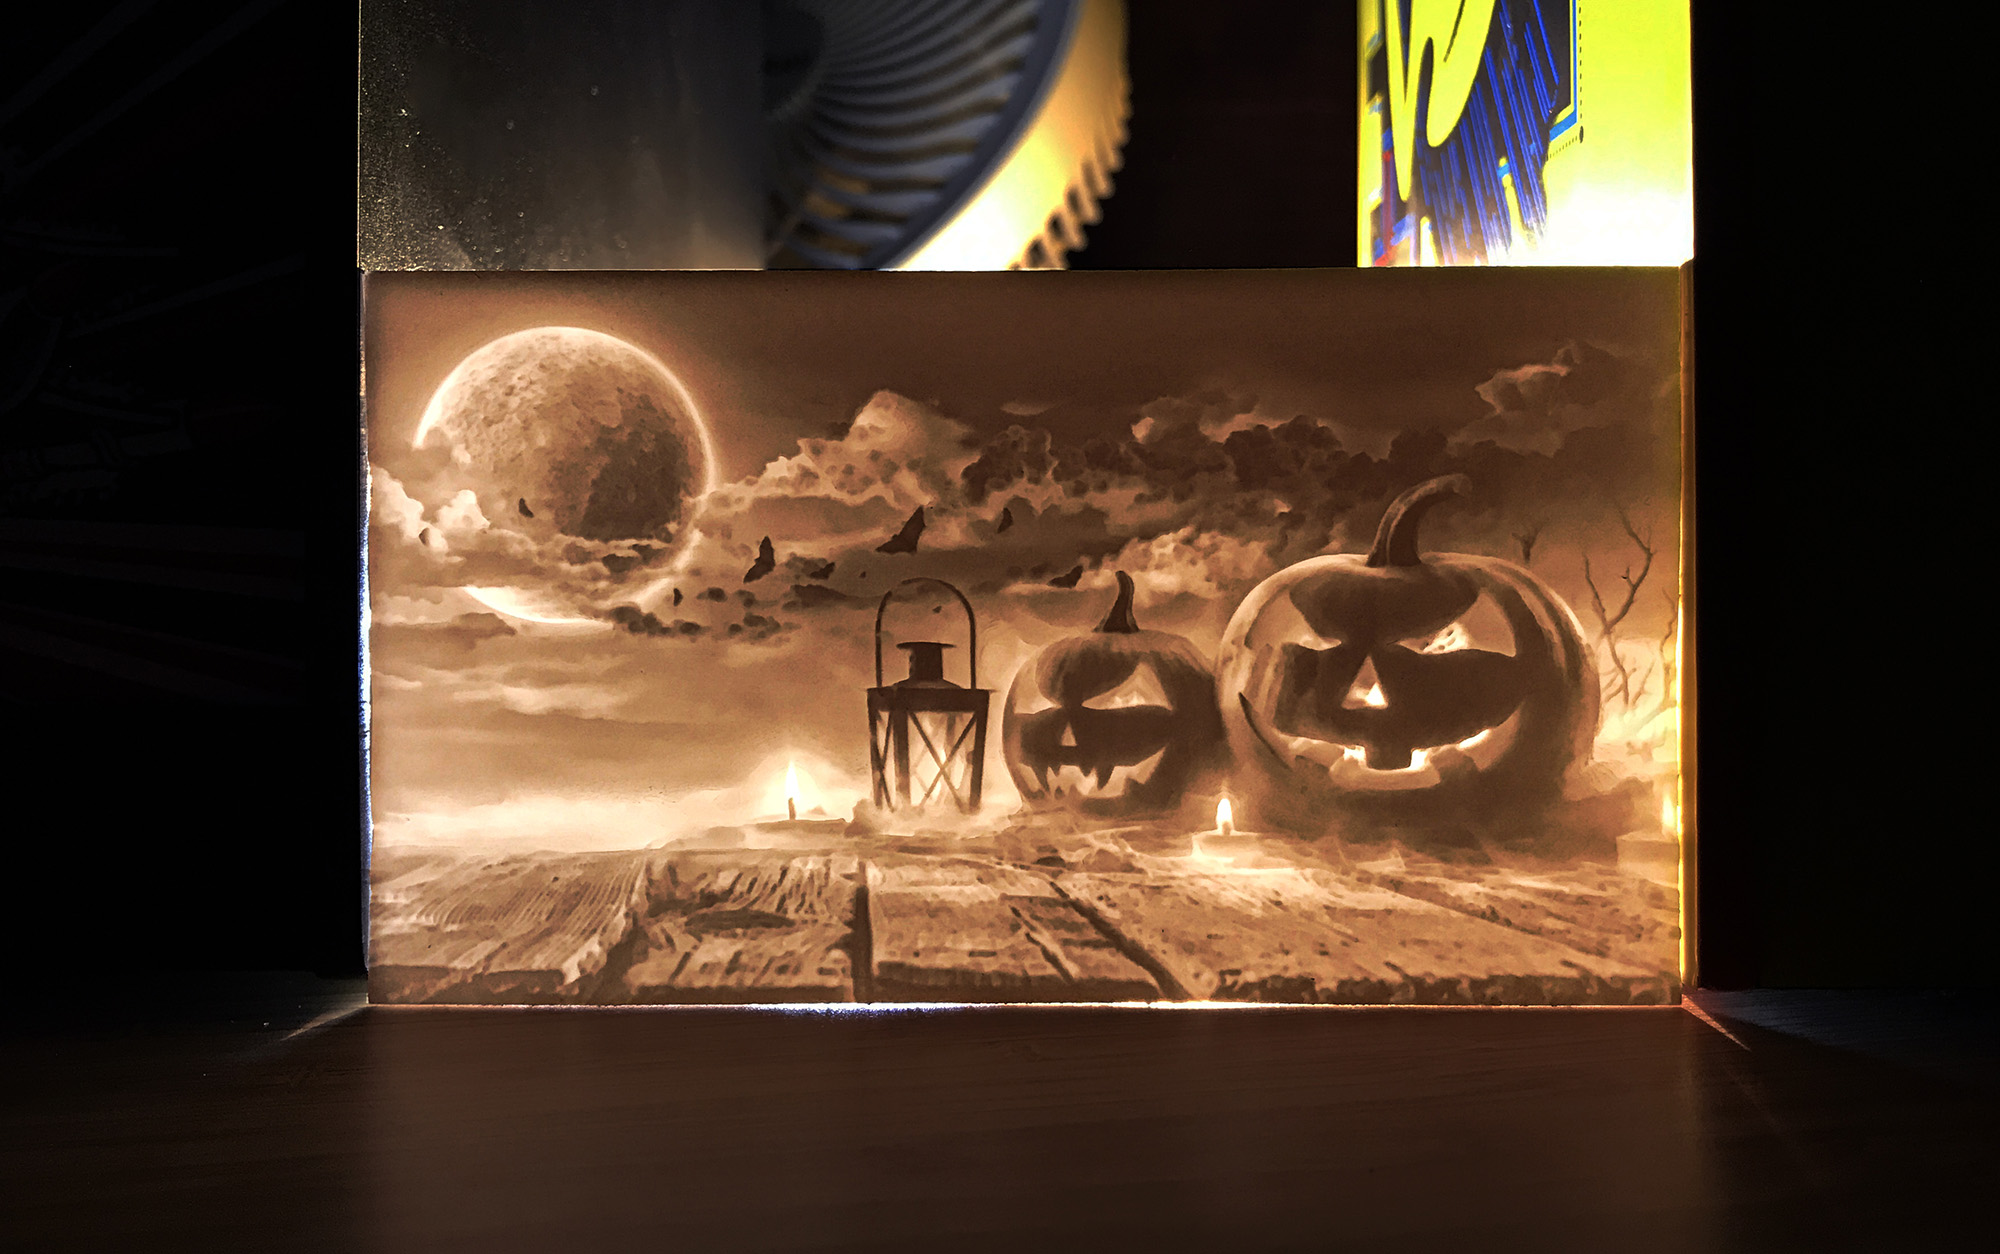
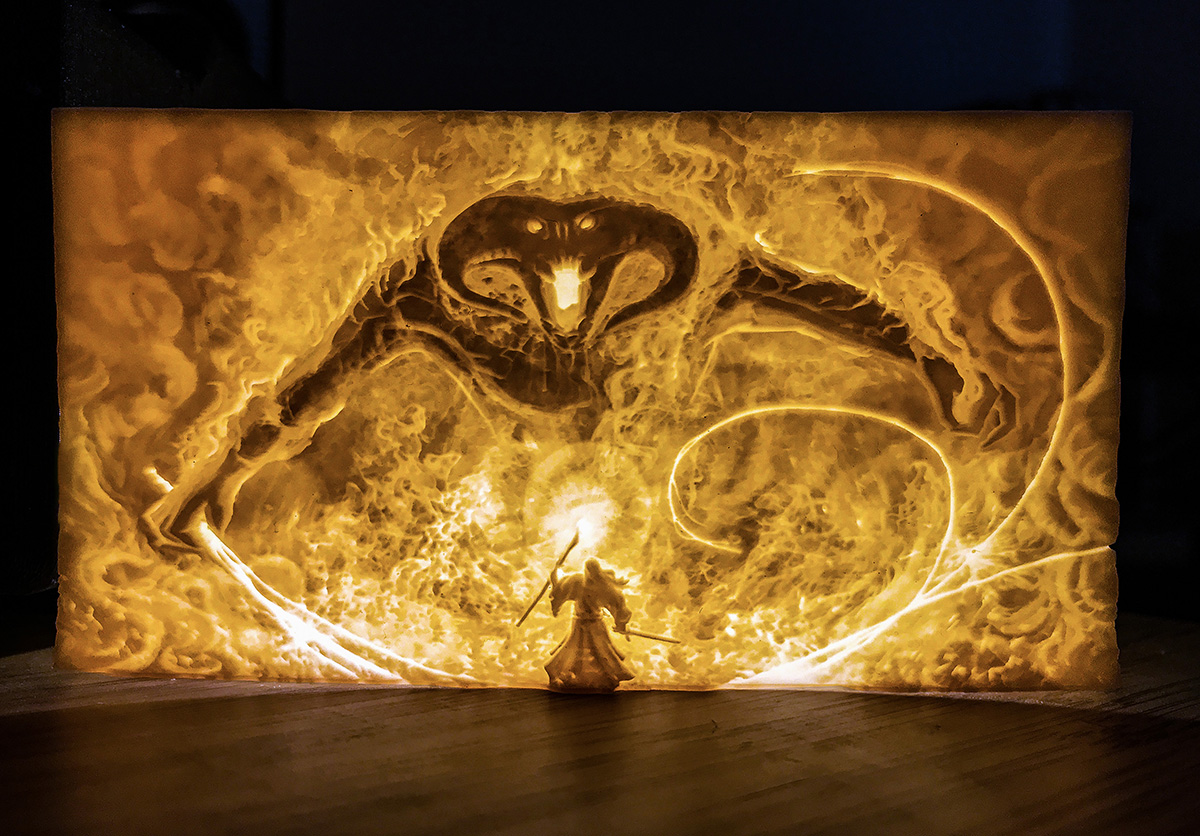
A selection of our resin lithophanes printed with the above settings.
*Please note that the Amazon links on this page are affiliate links. It doesn’t cost you anything extra if you use the them, but we get a few cents on the purchase and it helps keep the site going. If you prefer not to use the links that’s ok, just search for the products on Amazon(or elsewhere) directly.