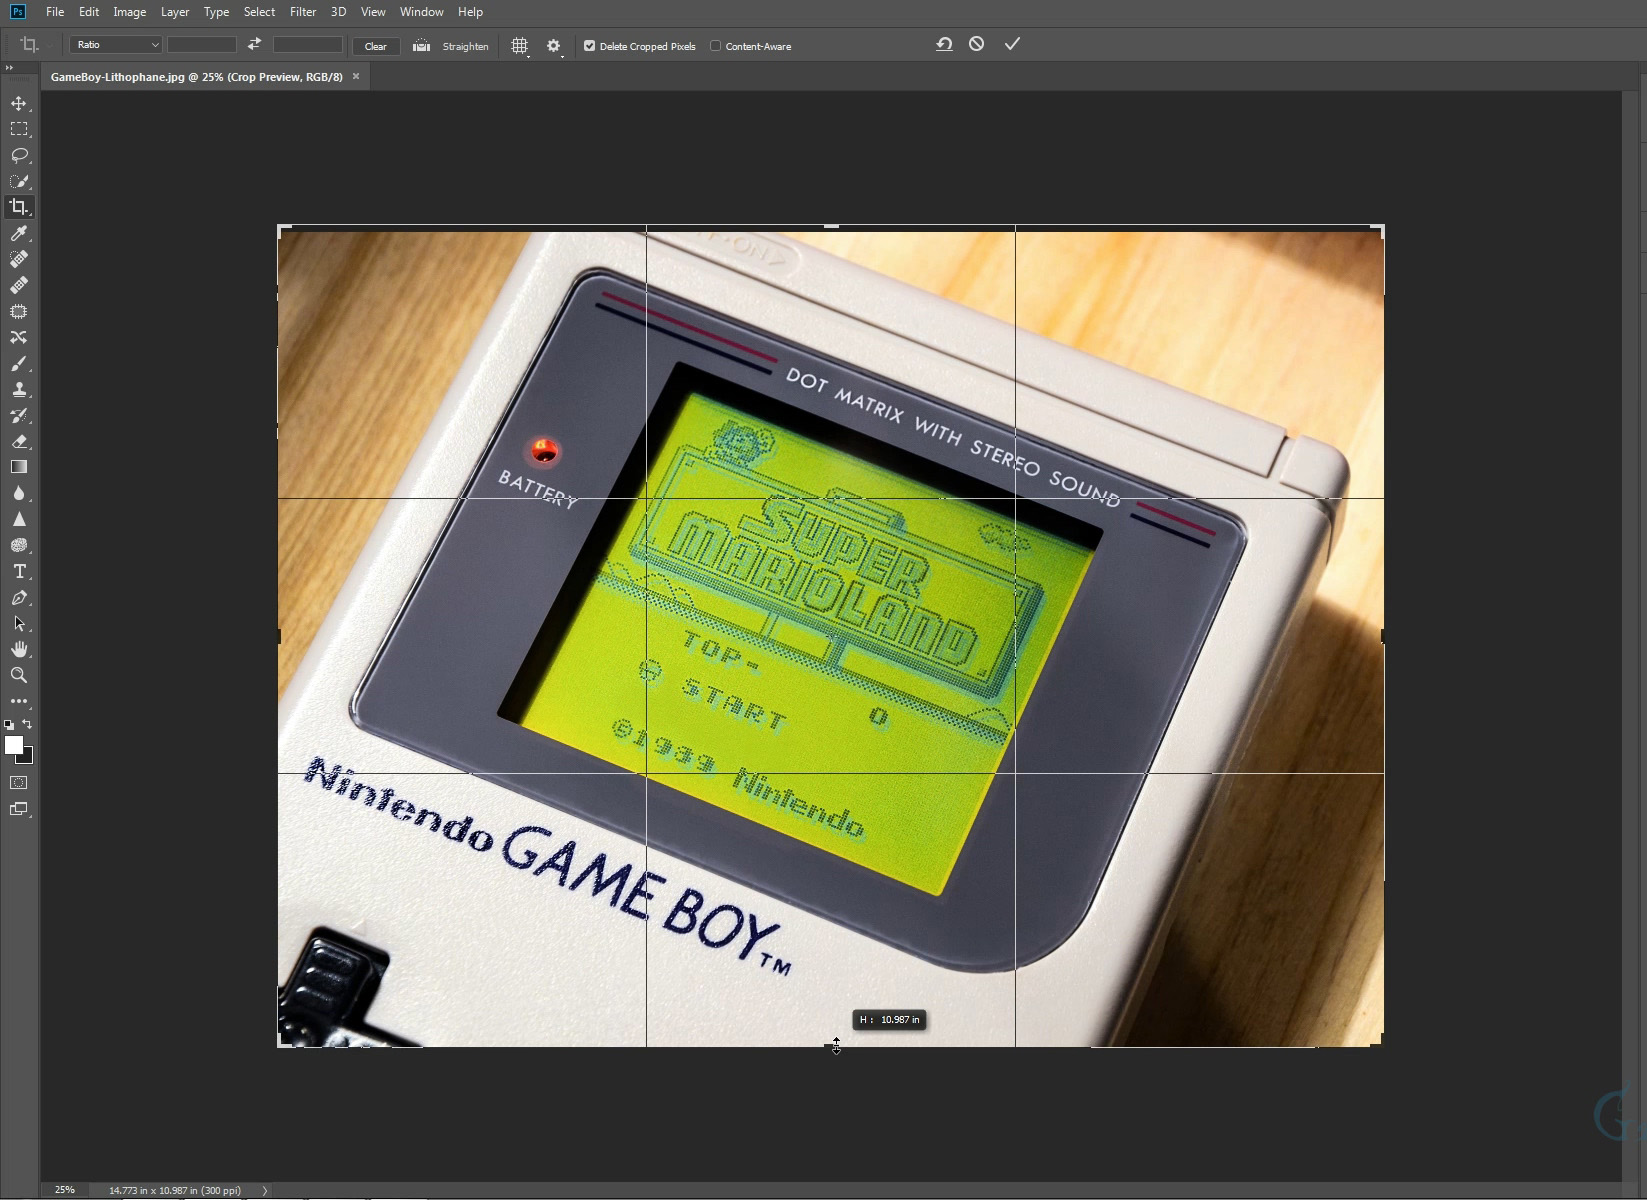
Quick and Easy – Slim Two Tier Lithophane Frame
This is a very quick “How-To” video on adding a slim two tier frame to your lithophane. This technique uses Photoshop, but you can use similar free software to get the same results (Paint.NET, GIMP etc).
We generally don’t use this type of frame on the lithophanes sold on the site(we design those and attach using software), but the below technique is definitely valid and useful for a lot of people.
No 3D design software or online tools required.
Please note, your image should already have been edited to how you need it to look for your lithophane creation technique/software (Blender, 3dp.rocks etc).
Basic steps:
- Change background colour to a dark shade of grey(but not black).
- Expand the canvas.
- Again, change the background colour, this time to black.
- Expand canvas.
When using this technique I like to have the frame on the base a little taller than the top or sides(you can see this in the video). It presents the lithophane in a more pleasing way to the eye when placed on a tabletop, shelf or similar(as well as adding a little extra strength and stability). If hanging the lithophane on a wall or window, having the frame the same thickness on all sides may look better.
You can push this technique even further by adding more tiers of ever increasing or decreasing darkness. But two tiers is generally enough, maybe three at a maximum as any more and it can distract from the lithophane its actually framing.
There are of course many ways to get the same or similar results as we have here. Some people just stick a black border around their images, and that works. But the extra tier on the frame really makes a difference in how it all looks and gives it a more professional look without having to do any work in 3D design software.
The various online tools also offer frames, but this guide is for people who don’t want to use that feature(or don’t use those tools), or just want a simple no fuss frame.

